Looking for arts and crafts? Check out 5 Easy Crafts for Kids to Do at Home During Quarantine and Homeschooling
You’ll need: one egg (hard-boiled and peeled), one glass bottle approximately 1.25 inches wide at the opening (like a standard milk bottle or science lab beaker) and a few matches
Instructions: first, set the egg on top of the mouth of the bottle. The egg should be too big to fall through. Lift the egg, light your matches, and toss them into the bottle. Quickly put the egg back on top of the bottle and watch it be sucked in!
The egg creates a seal at the opening of the bottle, and as the air within the bottle cools down, its pressure becomes lower than the air pressure outside of the bottle. The high air pressure outside of the bottle pushes the egg through the opening!
Experiment and Photo via Nellie’s Free Range Eggs
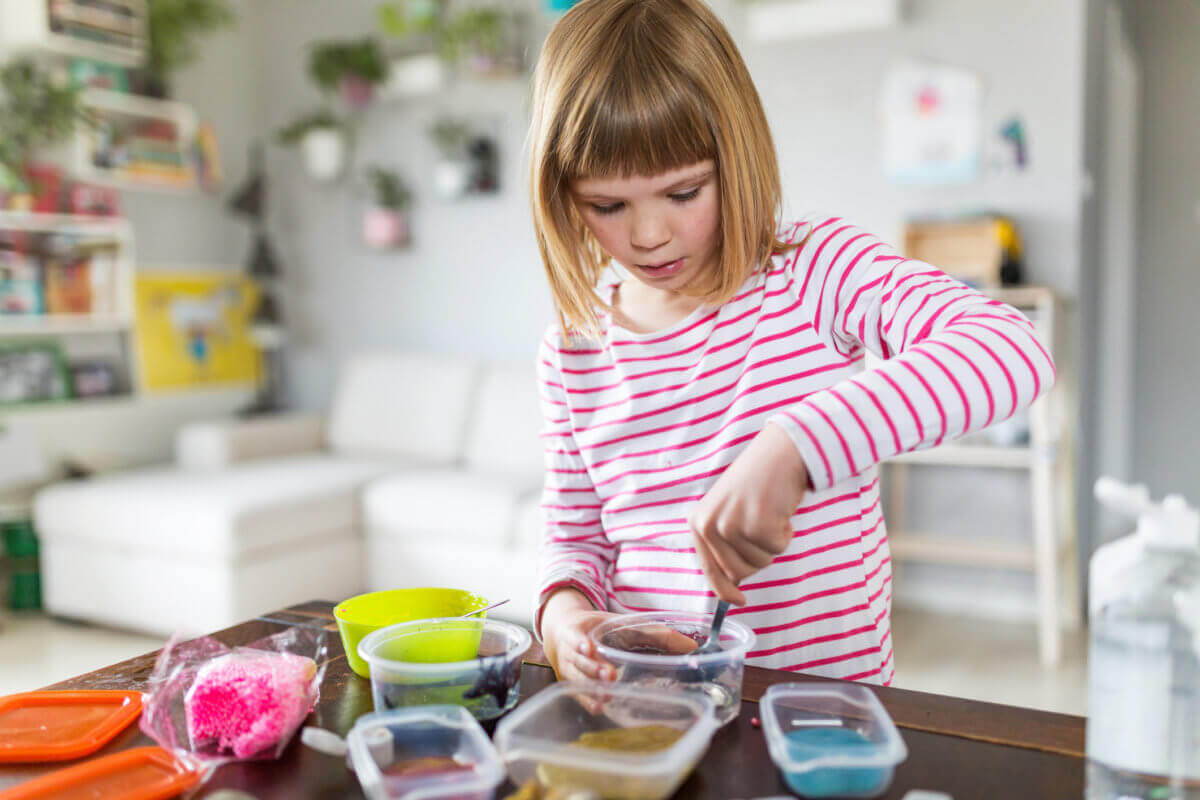
You’ll need: pipe cleaners, fishing line or yarn, pencils, scissors, glass or plastic containers for each different color (mason jars work great), a container large enough to hold your name (spelled out with pipe cleaners), Borax, food coloring, liquid measuring cups and a heat-safe mixing bowl
Instructions: form your name in pipe cleaners, making sure the letters are small enough to fit within the glass or plastic container without touching the sides. Boil water and measure out 3 tablespoons of Borax per cup of hot water, enough to fill each of your containers. Stir until the Borax dissolves, pour the mixture into your containers and add a few drops of food coloring into each. Next, use fishing line or yarn to suspend the letters from a pencil so that they hang into the container and are suspended in the liquid mixture. Leave the letters overnight, and take them out the next day! Hold them up to your window to watch your name sparkle in the sun.
When Borax is dissolved in water, it creates a suspension, which is a mixture that has solid particles large enough for sedimentation. When the Borax begins to settle, it crystallizes on the surfaces it comes in contact with — like your pipe cleaner letters.
Experiment via Playdough Plato
You’ll need: a jar with a lid, ⅓ cup hot water, ice and hairspray
Instructions: pour the hot water into the jar and swirl it around to warm up the jar’s sides. Turn the lid upside down, set it on top of the jar and place the ice cubes on top. Let sit for 20 seconds. Quickly remove the lid, spray hairspray into the jar and replace the lid with the ice still on top. Watch the cloud form, and when you see a good amount of condensation, lift the lid and watch the cloud escape into the air!
When poured into the jar, some of the hot water turns to vapor. When it rises and meets the cold ice, it condenses, but clouds cannot form unless water vapor has a substance onto which it can condense. In nature, this might be dust particles or pollution. In our experiment, the water vapor condenses to the hair spray.
Experiment via Gift of Curiosity
You’ll need: popsicle sticks or craft sticks, a hot glue gun (or craft glue, although it takes longer to dry), a ruler, a cookie sheet or parchment paper to prevent the bridge from sticking as it dries and an action figure or small toy
Instructions: challenge your kids to design and construct a bridge out of popsicle sticks that can handle the weight of an action figure or toy! First, build the bridge (about one foot long) out of popsicle sticks and hot glue; leave the design up to your kids and their imaginations. The first few tries might not work out. Once dry, place the bridge between two chairs about 10 inches apart. Test the bridge by placing the action figure or small toy on top of it! Simply declare that the bridge is a success, or continue adding weight until the bridge breaks to see how strong it really is.
Experiment via Busy Kids Happy Mom
You’ll need: a tall glass vase or a large bowl, an orange and water
Instructions: fill the container with water, and ask your kids whether they think the orange will float or sink. Why? Are they surprised when it floats? Next, peel the orange, and ask them what might happen when it’s placed back in the water. It sinks! Chances are your kids will be confused by the results.
The orange is being acted upon by two forces: gravity pulls it down and buoyancy pushes it up. Archimedes’ Principle determines the strength of the buoyant force of an object, saying that any object in a fluid is buoyed up by a force equal to the weight of the fluid displaced by the object. The orange’s peel adds much more volume (so more fluid is displaced) but adds only a small amount of mass to be acted upon by gravity. When the peel is removed, the orange’s volume decreases, so the buoyant force decreases, while the orange’s mass, and thus gravity’s strength, remains the same. This allows gravity to overcome the buoyant force and causes the orange to sink!
Experiment via Playdough Plato
You’ll need: white coffee filters, water-based markers, short glasses or cups, water, scissors, tape and small twigs
Instructions: choose any color marker, and draw a thick circle around the center of a coffee filter where the ridged edges meet the flat center. Fold the filter in half and in half again, creating a cone. Fill a glass with a little bit of water, and place the coffee filter cone into the glass so that its tip barely touches the water (make sure the marker lines don’t touch the water!). Watch what happens as the water flows up the coffee filter, taking color from the marker with it. This will take 20-30 minutes. Try out a variety of different marker colors to see what happens with each! Then take the filters out of the glasses, place them on newspaper and let dry. When dry, cut off the extra white edges of the filters and pinch the centers into a cone-like floral shape. Tape the pinched center to hold the flowery shape in place. Then tape each new flower to a twig and create a chromatography bouquet!
Experiment and Photo via Buggy and Buddy
You’ll need: 8 cups flour, 1 cup vegetable oil, large bowls and trays
Instructions: count out the cups of flour with your child, and mix the flour and vegetable oil together in a large bowl. Put the moon sand into various bowls and trays to create space for your child’s sensory play. Add toy astronauts and rockets for fun!
Experiment via Kiddie Academy
You’ll need: matchbox cars, a level table and tinker supplies (an assortment of magnets, tape, straws, string, balloons, construction paper, etc.)
Instructions: use your imagination to race toy cars across your table. The rules of the challenge: you can’t touch your car and you can’t move the table. Try using the balloon as a propulsion system or tape one magnet to your car and slide the other under the table. The straw and string could create a zipline, or construction paper could work as a sail. Get creative!
Experiment via Steam Powered Family
You’ll need: whole fat milk, food coloring, dish soap and a cotton swab
Instructions: fill a shallow dish with milk. Without shaking or stirring the milk, add a few drops of various colors of food coloring across the surface of the milk. Dip the tip of a cotton swab in dish soap, and gently touch the food coloring. The food coloring should “dance” across the milk’s surface!
The fat molecules of milk are dense and evenly spread across its surface. This keeps the food coloring in place, as it’s lighter and less dense than milk. When dish soap is introduced to the mixture, the fat molecules bind to the soap, decreasing surface tension and allowing the food coloring to move.
Experiment via Steamsational
You’ll need: a small disposable paper cup, playdough, baking soda, vinegar and red food coloring
Instructions: cut the paper cup in half; the base will be where you pour the baking soda and vinegar. Build a volcano base out of Playdough, however tall you want your volcano to be. Set the bottom half of the paper cup onto the volcano base. Build up playdough mountainsides to cover the sides of the cup and slope down to the base of the volcano. Take your volcano outside, put it onto a cookie sheet or take it into the bathtub — somewhere for easy clean-up. Pour some baking soda into the top of the volcano. Fill a cup with vinegar and add red food coloring. Pour the mixture into the mouth of the volcano and watch fizzy lava erupt!
Experiment via Happy Brown House
You’ll need: any tinker supplies you have at the ready, like cardboard tubes, tape, glue, wooden skewers, rubber bands, straws, pine cones, muffin papers, craft sticks, aluminum foil, plastic caps or scissors
Instructions: challenge your kids to build a creative design that floats by using the craft supplies available to them. Let them use their imagination, and when they’re finished, test their creations in a large container of water, the sink or the tub. Talk about what might contribute to whether their designs sink or float!
Experiment via Fireflies and Mudpies
You’ll need: three eggs, three glasses, grape juice, soda and water
Instructions: fill each glass with a different liquid, and gently submerge each egg. Let the eggs sit for 24 hours. When you take the eggs out of the glasses, describe what you see! What has changed?
The hard shell of an egg is made of calcium, which protects the soft egg parts inside. The hard exterior of our teeth is made from the same substance! Some of the eggshells are stained, just like your teeth might be after drinking grape juice or soda without brushing your teeth.
Experiment via Nellie’s Free Range Eggs
You’ll need: toilet paper rolls, white paper, scissors, push pins, tape and flashlights
Instructions: show your child pictures of constellations to generate ideas. Then have your child trace the end of a toilet paper roll onto white paper and cut out the circle. Help them draw a small, simple design on the circle and punch holes into the design with a push pin. Once they’ve created their constellation, tape the paper to the end of the toilet paper roll and turn off the lights. Point the toilet paper roll toward a dark surface, and shine a flashlight through the open end. Their constellation should light up against the surface!
Experiment via Kiddie Academy
You’ll need: blue and green food coloring (preferably neon), sugar, a jar with a lid (plastic or glass), a small pot and your stove
Instructions: pour 1 cup of water into a pot, and heat until boiling. Add 3 tablespoons of sugar, and stir just until the sugar dissolves, not long enough for it to turn into candy! Add a few drops of green food coloring, and allow the water to cool before pouring it into the jar. Put a few drops of blue food coloring into a second cup of water, stir and gently pour into the jar on top of the green sugar water. Wait for the layers to settle, put on the lid and you’re done!
Density is a measure of mass per unit of volume. By adding sugar to the first cup of water, it becomes heavier than the second cup of water, even though they take up the same space. The vibrant visuals of the experiment can help your children grasp the concept of density, which can often be difficult to understand intuitively!
Experiment via Steamsational
You’ll need: paper plates, scissors, construction paper, tape, markers, marbles and optional pipe cleaners, straws or Wikki Stix
Instructions: challenge your kids to make their own pinball machine with a paper plate and the craft supplies available to them. If need be, watch some pinball machine videos on YouTube to get the ideas flowing. Create simple archways with strips of construction papers and pathways with cut straws. Get creative, and test out their “machines” with marbles.
Experiment via Buggy and Buddy
This story first appeared on NewYorkFamily.com